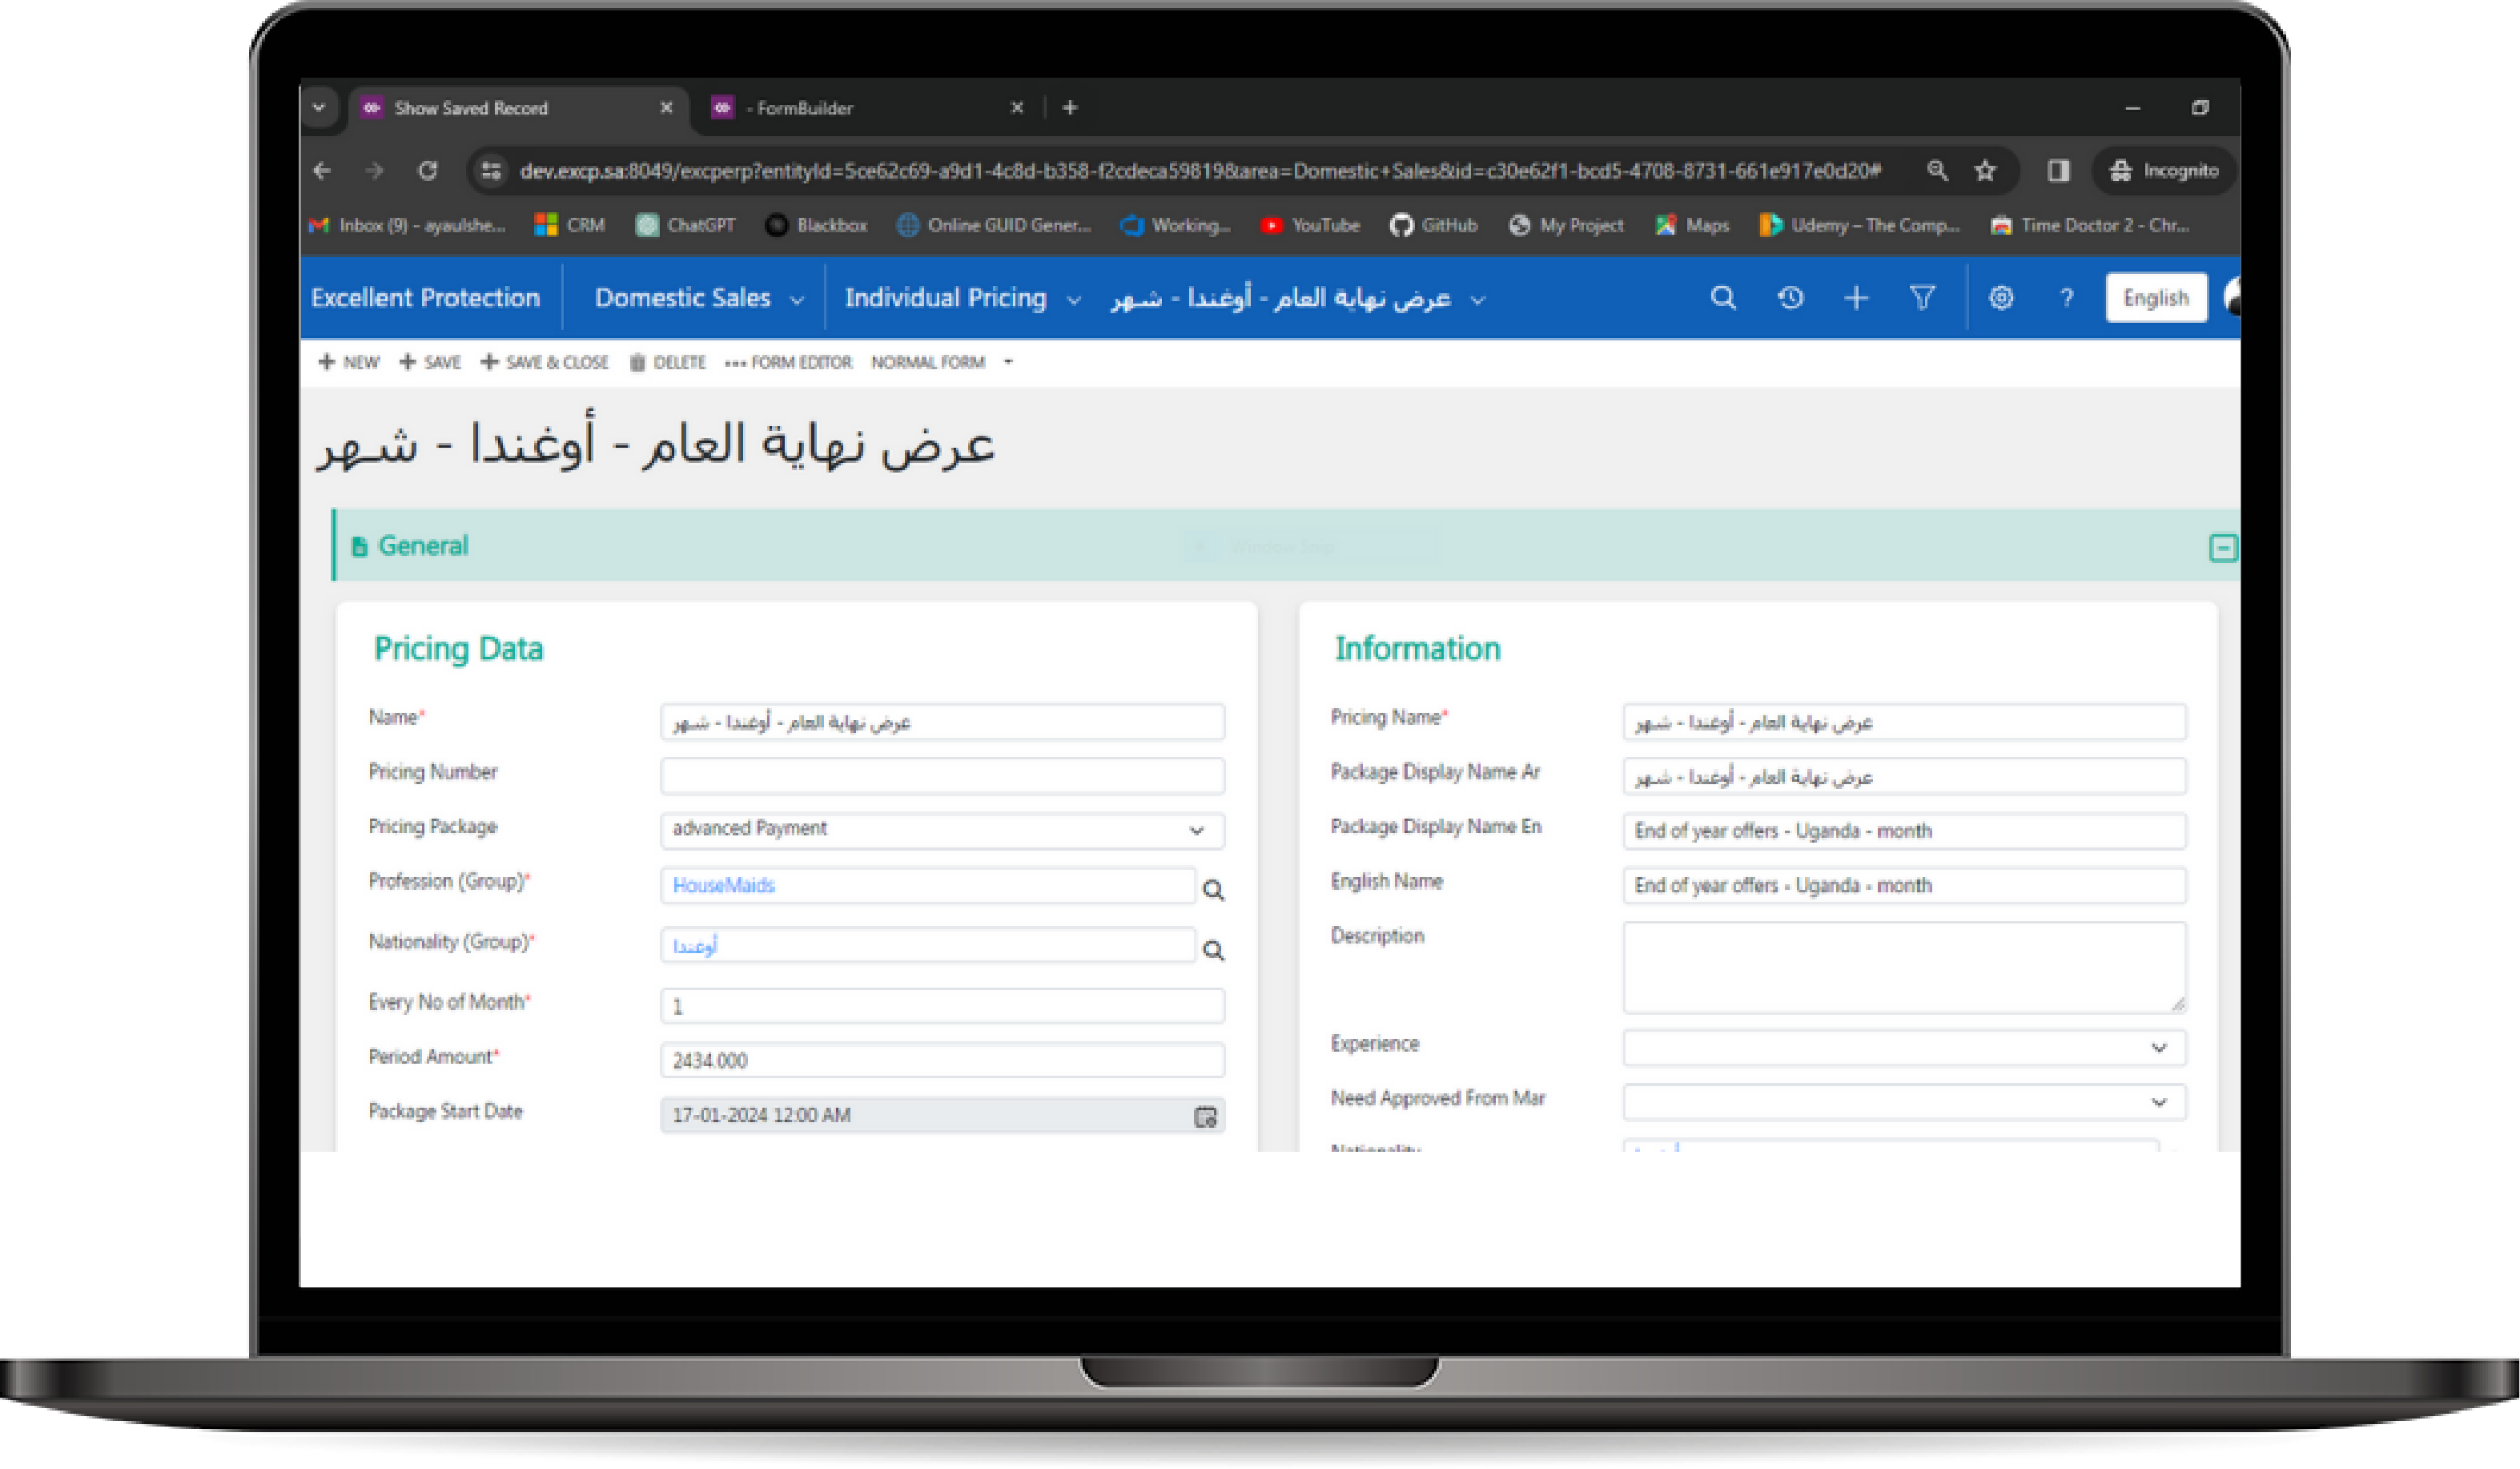
Form Builder
The Form Builder allows users to create and customize forms for entities. Users can easily add various components such as tabs, sections, and subgrids. The Form Builder also supports editable grids and the ability to integrate custom JavaScript and styles, providing flexibility and a robust design experience.
How to use the Form Builder?
- Accessing the Form Builder:
- Navigate to the Form Builder from the UI.
- Select the entity for which you want to create or modify a form.
- Creating Tabs and Sections:
- Click on Add Tab to create a new tab on the form.
- Within each tab, click on Add Section to create distinct areas for organizing fields and controls.
- Adding Fields:
- Drag and drop fields from the available field list into the desired section on the form.
- Adjust field properties by clicking on the field to configure settings such as required status, visibility, and read-only options.
- Adding Subgrids:
- Click on Add Subgrid to include a related entity’s data on the form.
- Specify the relationship to the related entity and configure properties like view selection and filtering options.
- This allows users to view and manage related records directly from the form.
- Creating Editable Grids:
- Use the editable grid feature to allow users to edit multiple records directly on the form.
- Configure which fields should be editable and set any necessary validation rules.
- Adding JavaScript, HTML, and CSS:
- Open the Form Properties section within the Form Builder.
-
Web Resources: Here, you can add JavaScript files, HTML files, or CSS files that should be included in the form.
- OnLoad Event: Specify web resources that will run when the form is loaded. This is useful for initializing form data or setting up dynamic behaviors.
- OnSave Event: Specify web resources that will execute when the form is saved. This can be used for validation or additional processing before the record is saved.
- Users can manage multiple web resources for different events to enhance form functionality and appearance.
- Previewing the Form:
- Use the Preview option to see how the form will appear to end-users.
- This allows for adjustments and refinements before finalizing the form.
- Saving and Publishing:
- After making all necessary changes, click Save to store your form configuration.
- To make the form live, click Publish. This will apply the form to the entity and make it available for user interaction.