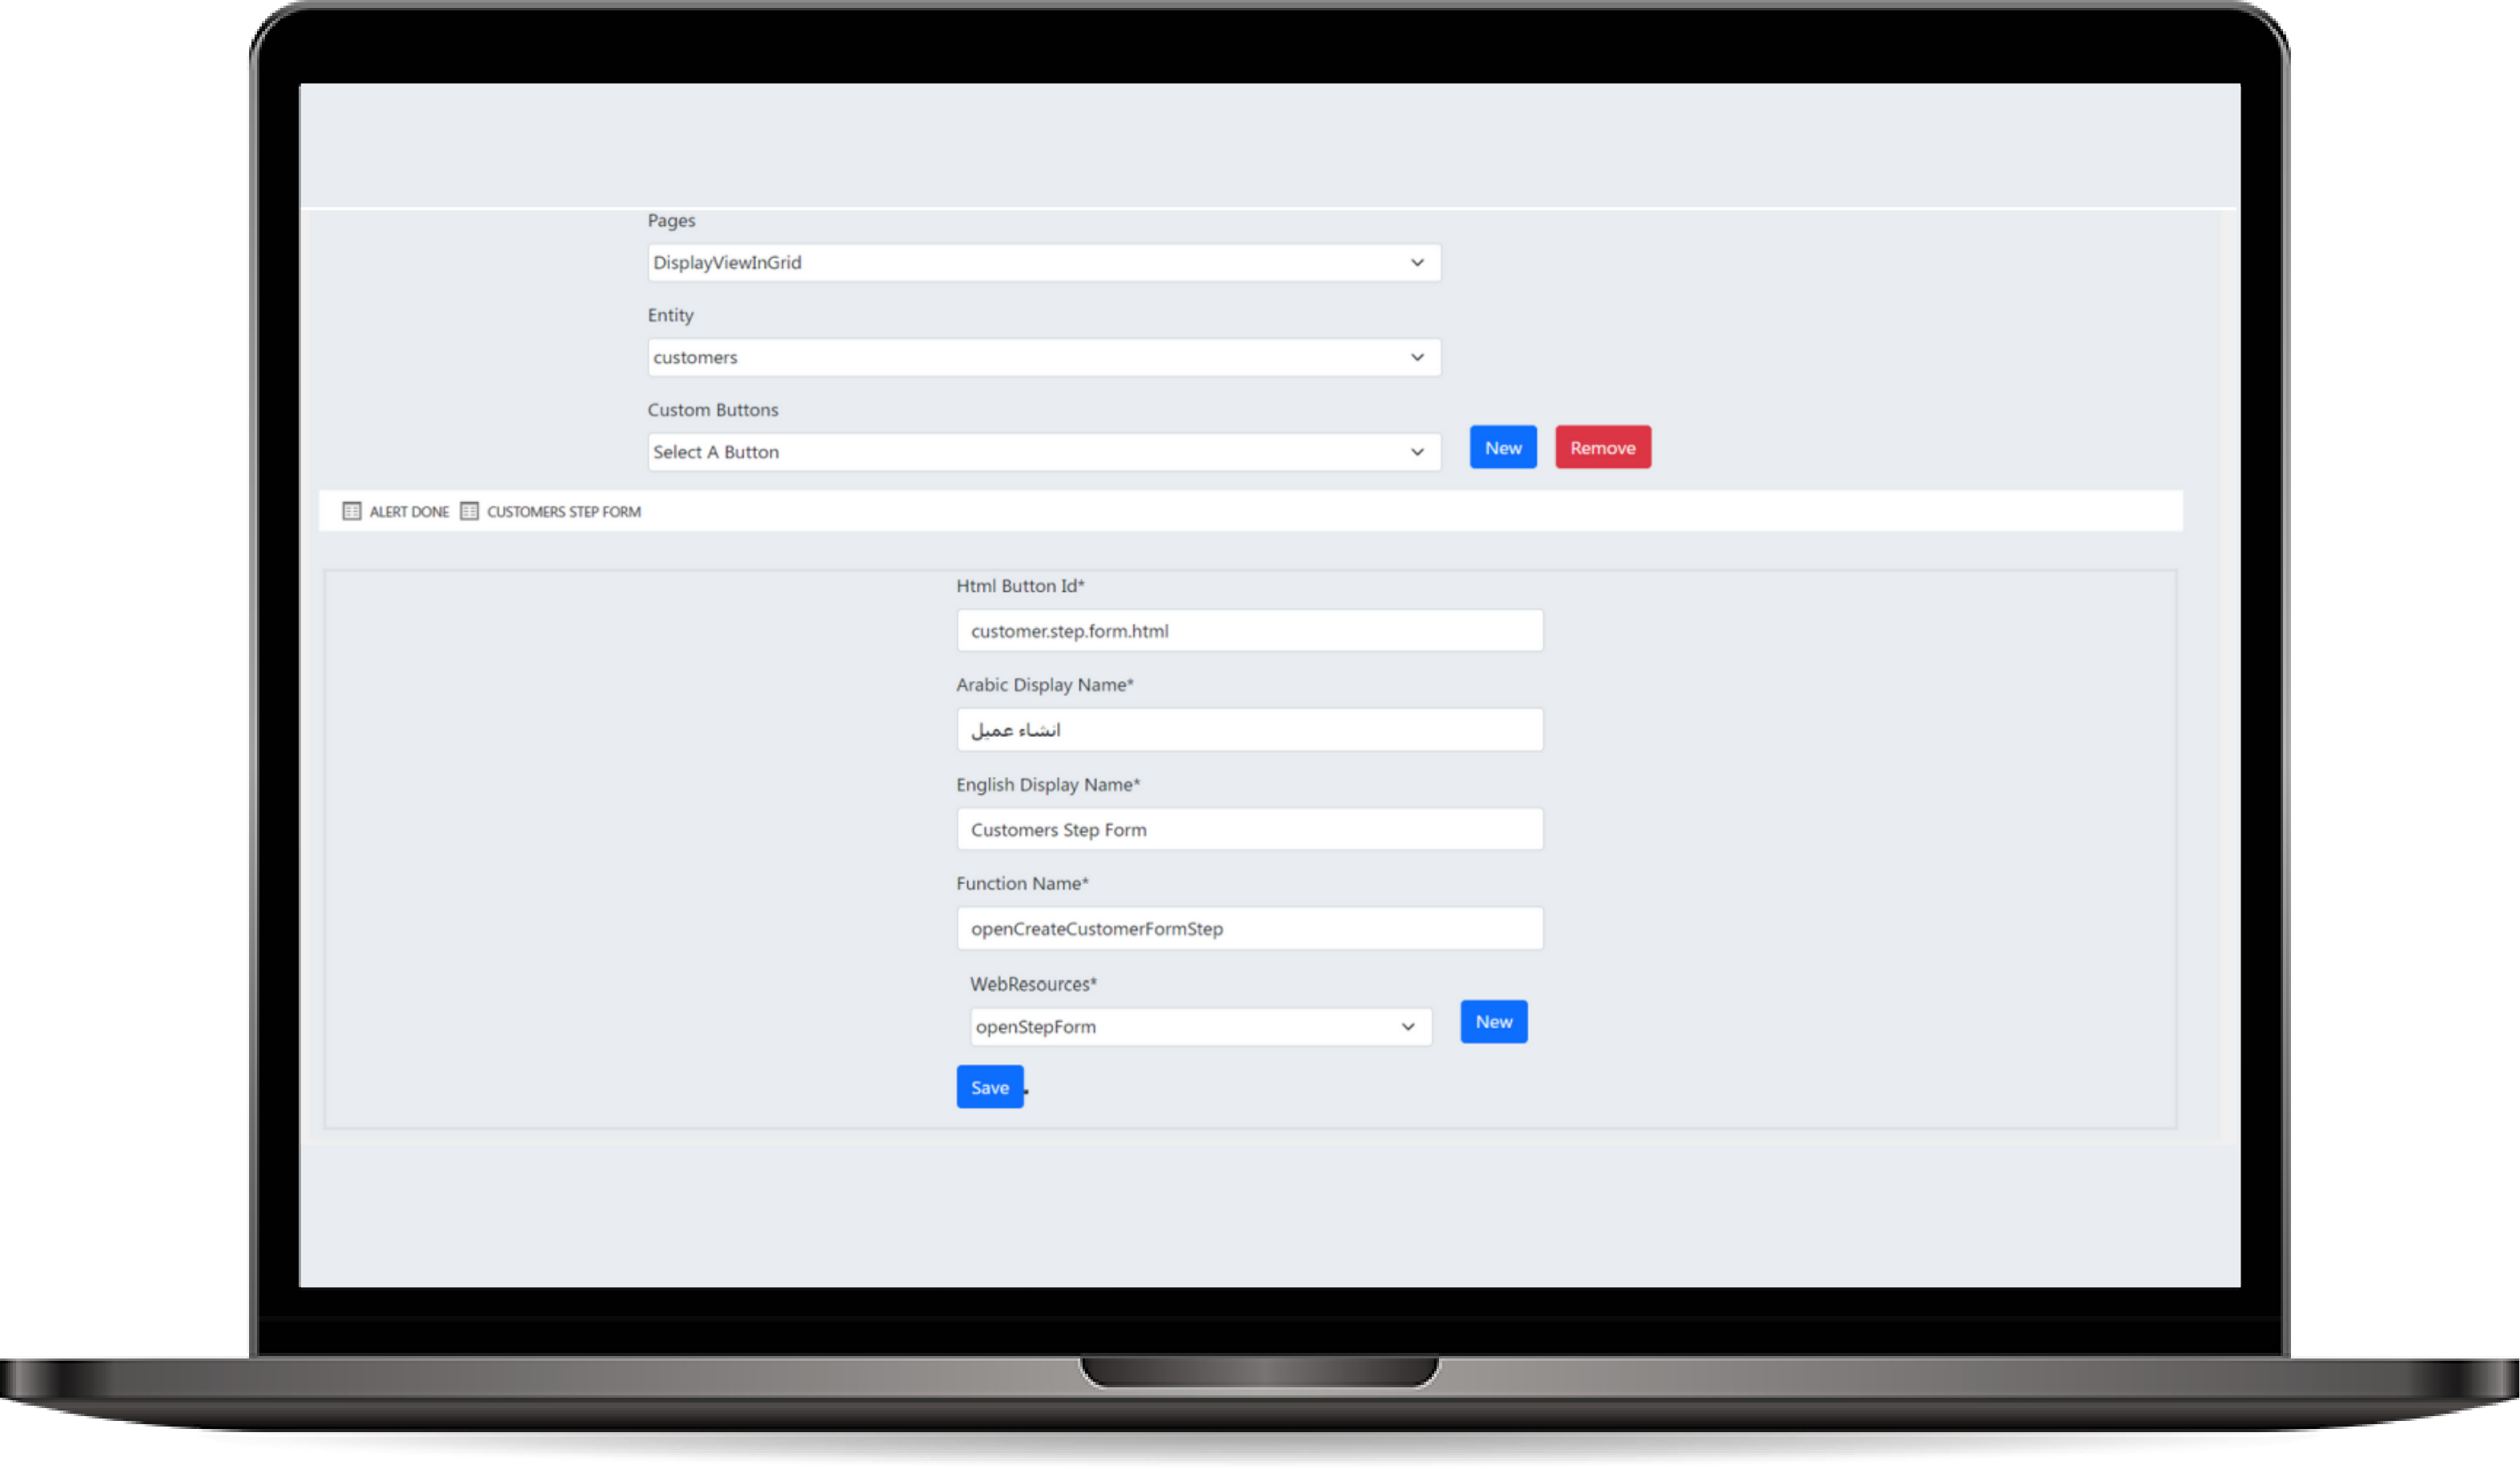
Ribbon Button Tool
The Ribbon Button Tool allows developers and administrators to create and customize ribbon buttons that appear in various parts of the application, such as entity forms and views. These buttons can trigger specific actions, scripts, providing a highly customizable user experience.
How to use Ribbon Button?
- Accessing the Ribbon Button Tool:
- Navigate to the Ribbon Button Tool from the menu.
- You will be prompted to select an entity from the list of available entities in the system.
-
After selecting the entity, choose where you want the button to appear:
- Form: The button will be visible on the entity's form (e.g., at the top of the form page).
- View: The button will appear in the entity's data grid, allowing users to interact with multiple records.
-
Creating a New Ribbon Button:
- After selecting the entity and its placement (form or view), click Create New Button to begin configuring the new button.
-
Defining Button Properties:
-
Name:
- Enter the internal name of the button. This will be used to reference the button in the backend and within scripts.
-
ID:
- Define a unique ID for the button to ensure that it can be programmatically accessed. This is used for identifying the button in scripts or when customizing the behavior dynamically.
-
Web Resource (JavaScript):
- Web Resource: Select or upload the JavaScript web resource that contains the function to be triggered when the button is clicked.
- This is typically a JS file that you’ve already created, containing the custom logic for the button’s action.
-
Function Name:
- In the Function Name field, specify the exact function that should be called from the JavaScript web resource when the button is clicked.
-
Icon:
- Optionally, upload an icon to visually represent the button on the ribbon. This icon will appear next to the display name of the button and can help users quickly identify its purpose.
-
Name: