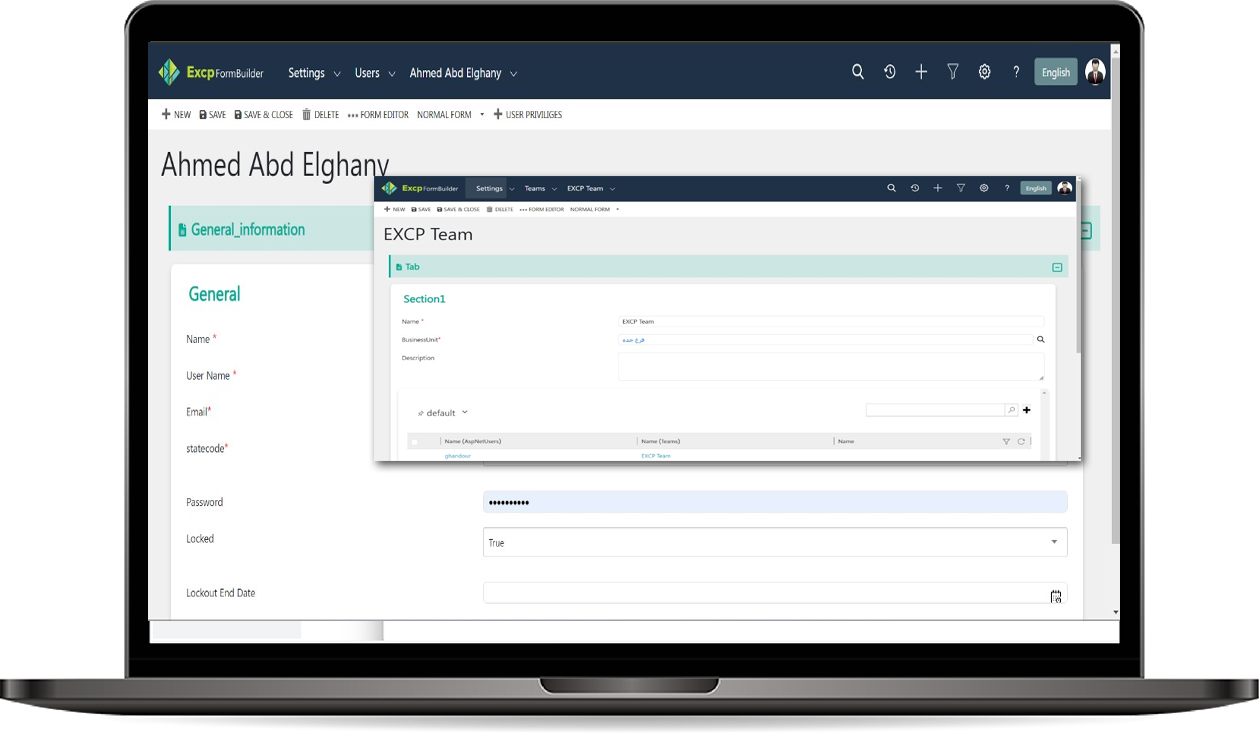
Roles Management
The Roles Management feature allows administrators to define and manage user roles within the system. Roles dictate the level of access users and teams have to specific entities, features, and data. This ensures that users only have permissions relevant to their job functions, maintaining security and operational efficiency.
How to use Roles Management ?
- Accessing the Roles Section:
- Navigate to the Roles Management section from the admin panel.
- You will see a list of all existing roles, with details about which entities and actions each role governs.
-
Add New Role:
- Click on the Add New Role button to create a new role.
- Enter the Role Name: Provide a descriptive name for the role (e.g., "Customer Manager", "Sales Analyst").
-
Defining Entity-Level Permissions:
- For each role, define permissions at the entity level. This allows you to control what actions the role can perform for each specific entity in the system.
- Select the entities that the role can interact with (e.g., Customers, Sales Orders, Invoices ).
- For each entity, specify the actions the role can perform
-
Save and Activate:
- After defining the entity-level permissions, click Save to create the role.
- The role will now be available for assignment to users, with the defined permissions applying specifically to the entities selected.