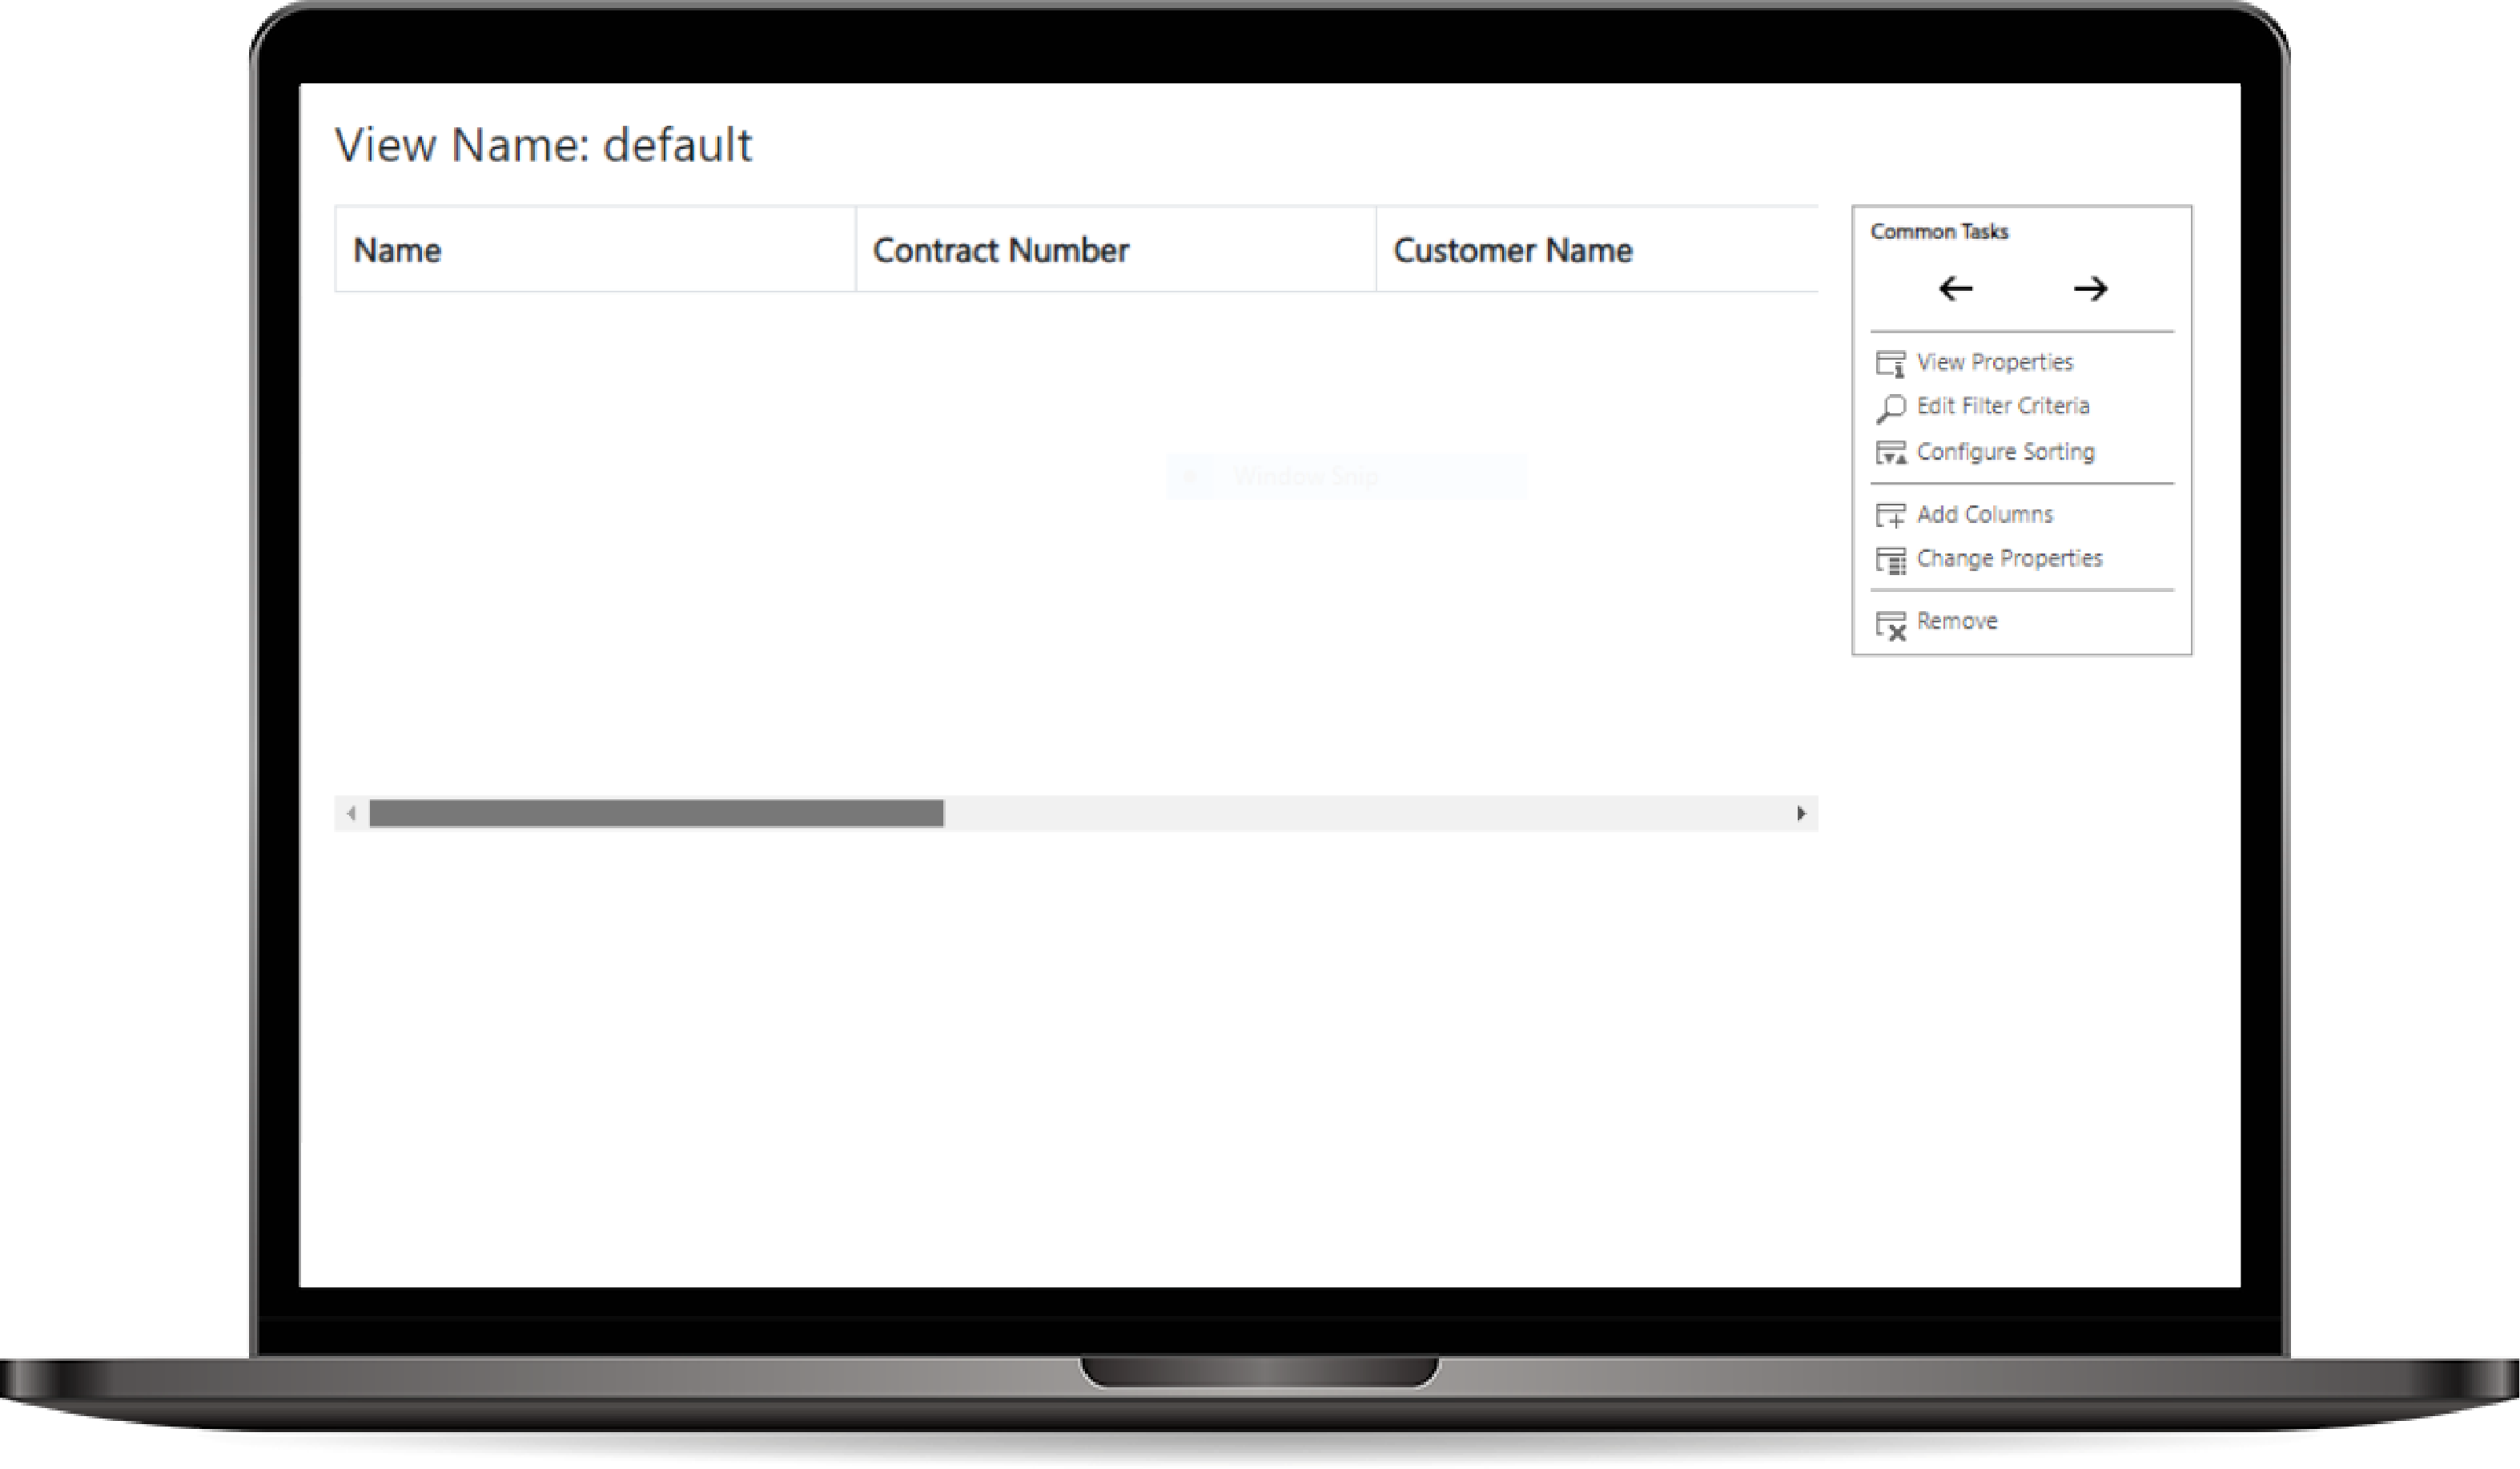
View Editor
The View Editor allows users to create and customize views for entities. Users can define which columns to display, apply filters, and set sorting options, providing a tailored view of the data that meets their specific needs.
How to use the View Editor?
- Accessing the View Editor:
- Navigate to the View Editor from the UI.
- Select the entity for which you want to create or modify a view.
- Creating a New View:
- Click on Create New View to start a new view configuration.
- Provide a Name for the view (e.g., "Active Customers", "Pending Invoices").
- Adding Columns:
- Click on the Add Columns button. This action will open a modal where you can select multiple fields to be included in the view.
- In the modal, check the boxes next to the fields you want to add to the view.
- Once you have selected the desired fields, click OK to add them to the view.
- Rearranging Columns:
- After adding columns, you can rearrange their order using drag-and-drop functionality.
- Click and hold the column header, then drag it to the desired position in the column list.
- Defining Column Properties:
-
For each column, configure properties by double click on column such as:
- Width: Adjust the width of the column for better readability.
-
For each column, configure properties by double click on column such as:
- Applying Filters:
- Click on the Edit Filter Criteria option to define conditions that records must meet to be displayed in the view.
- Specify the field, operator (e.g., Equals, Contains), and value for the filter.
- Multiple filters can be combined using logical operators (AND/OR) to refine the displayed data.
- Saving and Publishing the View:
- After configuring the view, click Save to store your settings.
- To make the view available to users, click Publish. This action will apply the view to the entity and allow users to access it from their data grids or dashboards.