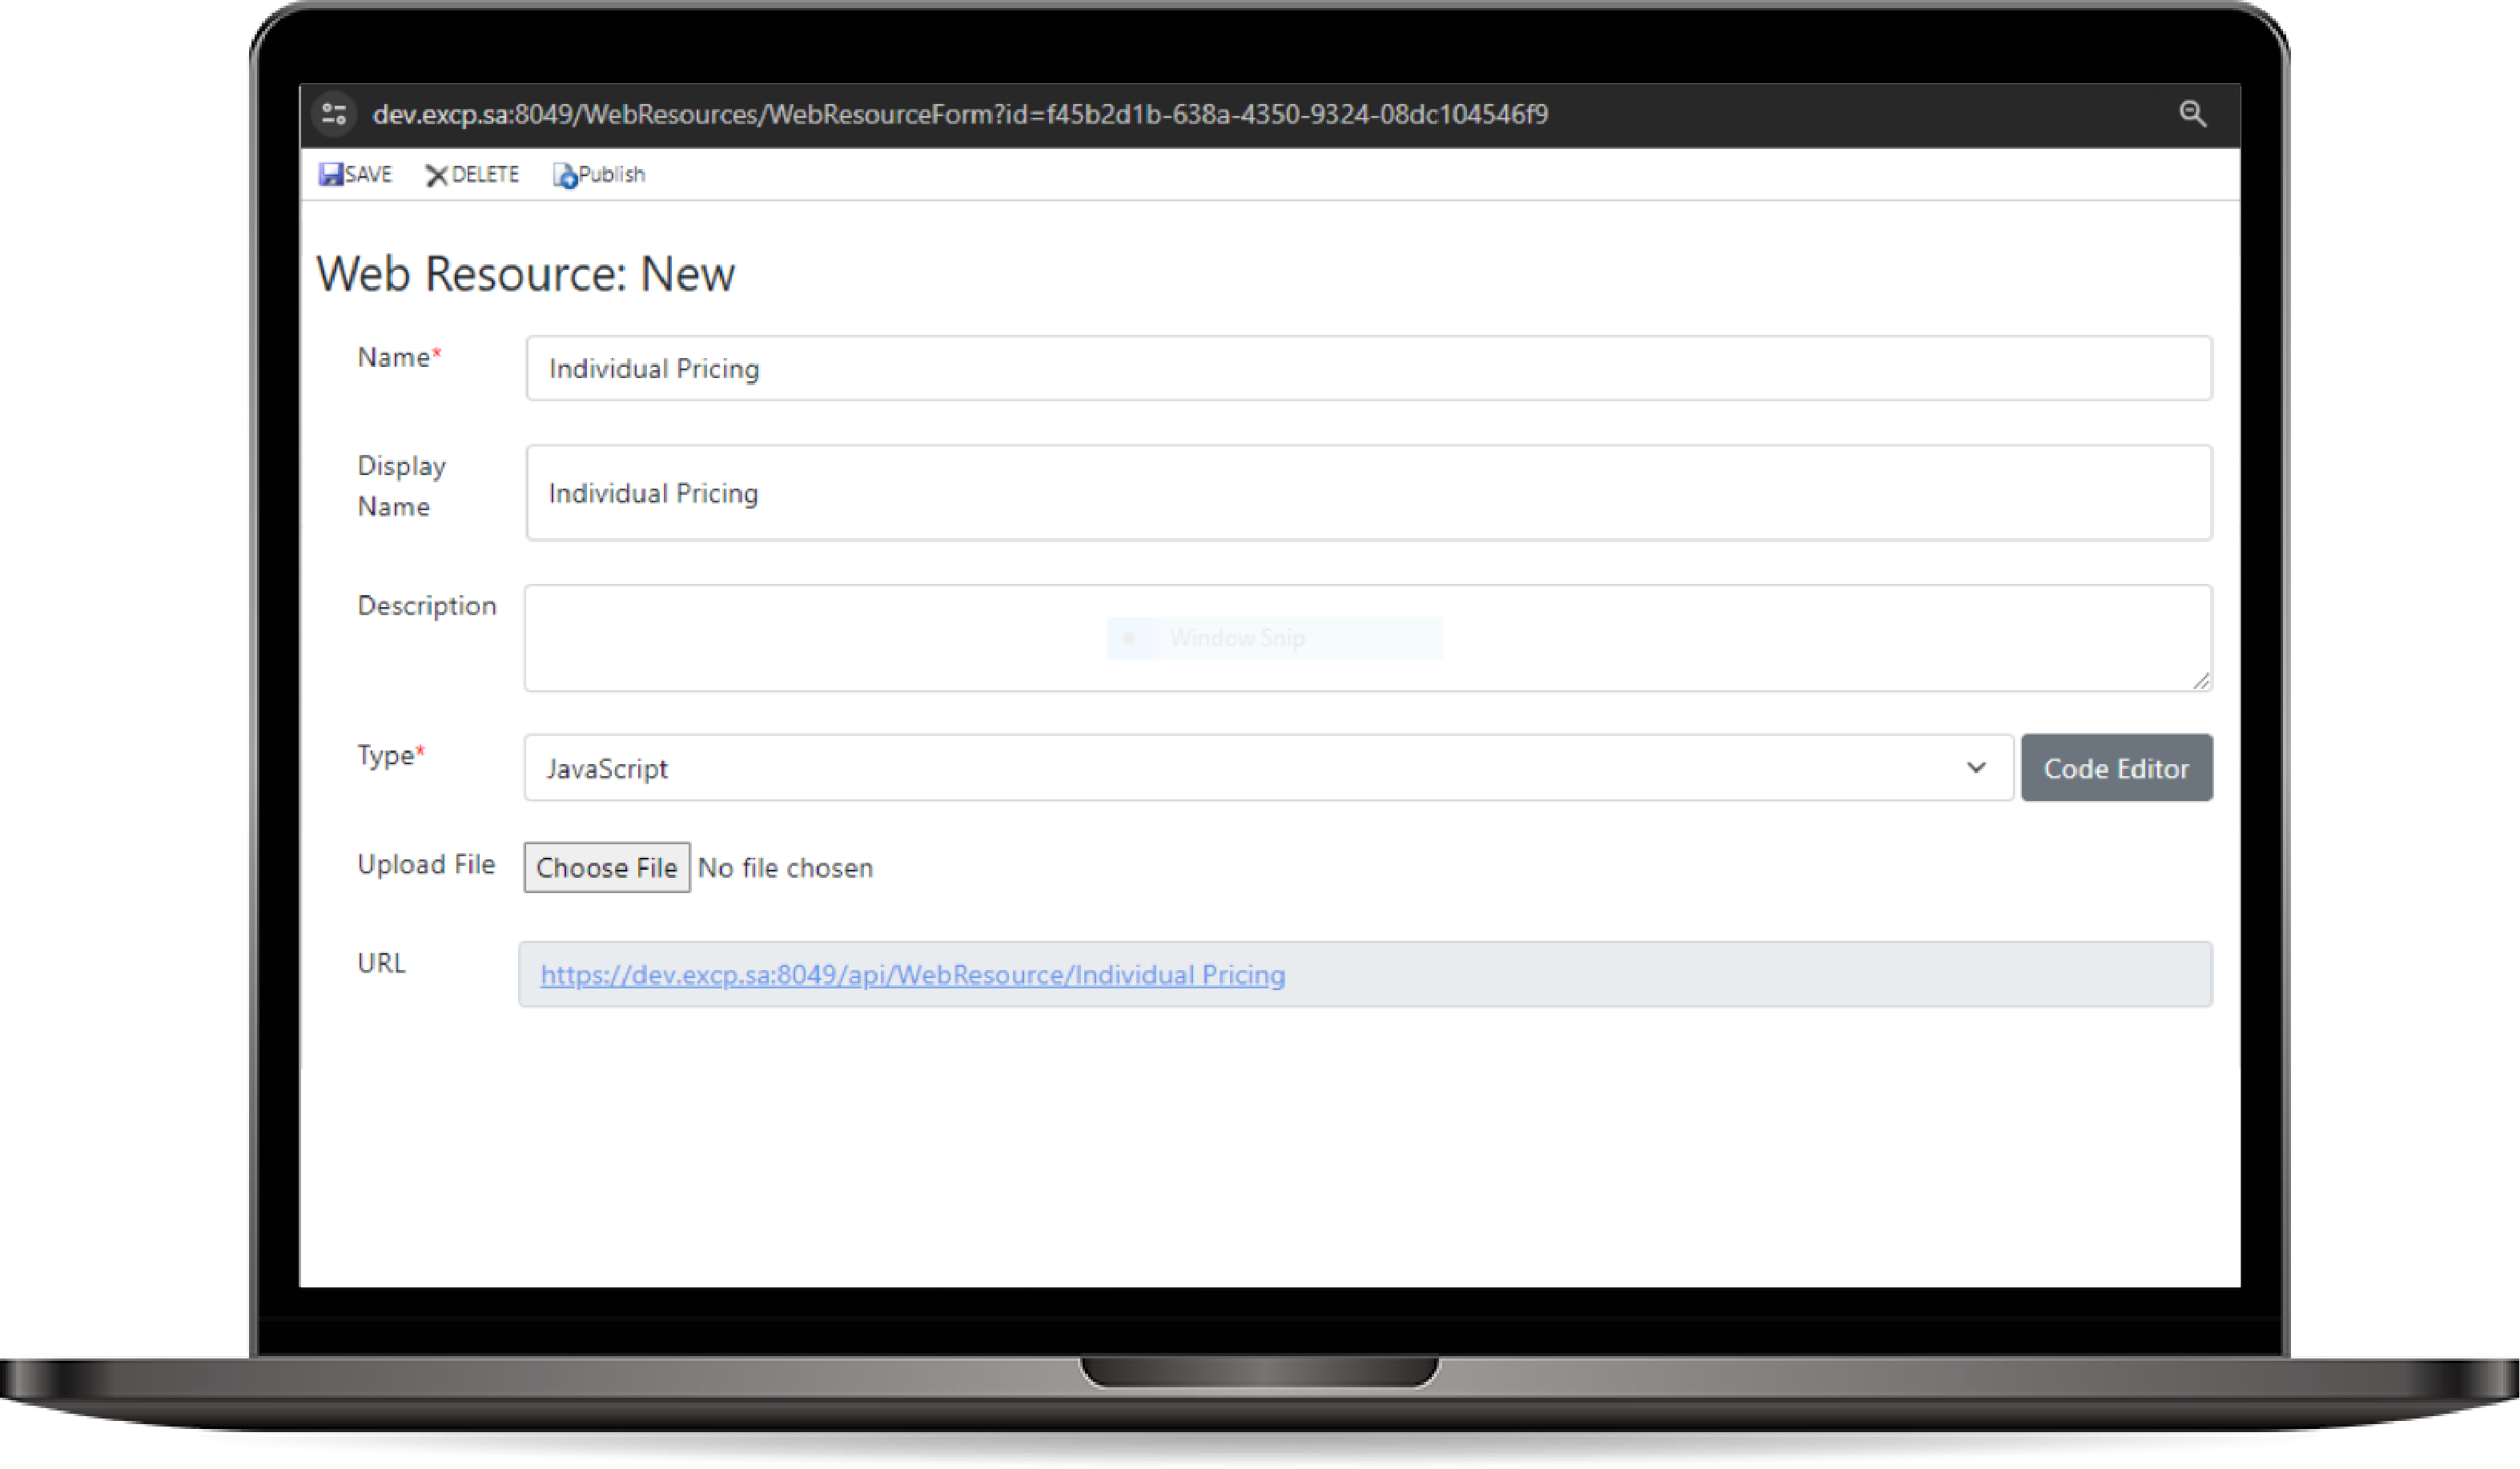
Web Resource Editor
The Web Resource component allows users to create, edit, and manage custom web resources for use within the application. Users can write their own code directly in the code editor for HTML, CSS, and JavaScript, or they can upload existing files. This flexibility enables users to enhance the application's UI and functionality according to their specific requirements.
How to use the Web Resource Editor?
- Accessing the Web Resource Editor:
- Navigate to the Web Resource section in the UI.
- Click on Add New Web Resource to create a new resource.
- Creating a New Web Resource:
-
Web Resource Type: Select the type of web resource you want to create, such as:
- HTML
- JavaScript
- CSS
- Images
- Name: Enter a unique name for the web resource (e.g., "CustomStyles", "FormValidation").
-
Web Resource Type: Select the type of web resource you want to create, such as:
- Using the Code Editor:
-
Code Editor:
- For JavaScript and CSS resources, users can write their code directly in the provided code editor.
- For HTML resources, users can create the layout and structure using HTML tags.
-
Code Editor:
- Uploading Files:
-
Instead of writing code directly, users can choose to upload existing files:
- Click on Upload File and select the file(s) you wish to include.
- Supported file types include .js, .css, and .html.
- Once uploaded, these files will be linked to the web resource and can be used within the application.
-
Instead of writing code directly, users can choose to upload existing files:
- Saving and Publishing the Web Resource:
- After creating or uploading the web resource, click Save to store your changes.
- To make the web resource available in the application, click Publish. This ensures that the resource can be accessed by forms, dashboards, or other components where it is needed.